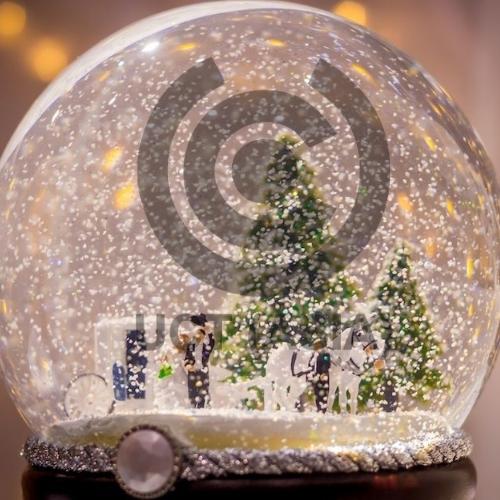
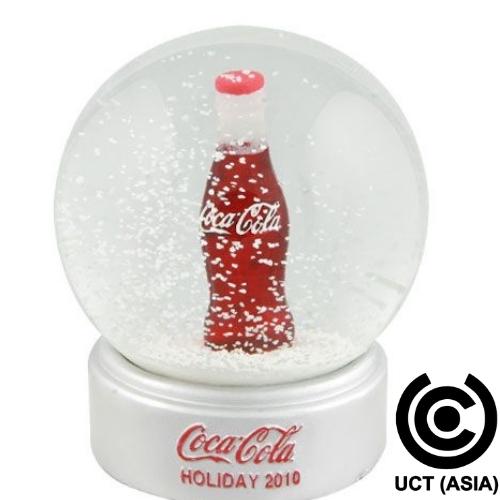
Personalized Snow globes are unique to represent your business all year round, but they really come into their own during festive periods.
Although the process is not easy, it’s worth the time investment if you want to produce high-quality products with great detail that will last for years on your shelves or give as gifts during the winter holidays.
The process
Step 1: Base and Painting
The manufacturing process of custom snow globes begins with a good design. This includes the CAD design of the figurines inside the globe and the design around the base of the snow globes. Following this, a 3D clay model of the base and figurines is made to understand better how this will look.
Check out this article to find out more.
Step 2:Molding and Casting
For starters, you will create the base with either glass or plastic(depending on the client’s requirements) and then add resin. Resin is a very durable and high-quality material to create the snowflakes that will be inside the globe. After the resin is added, the final step is to add the finishing touches such as inputting your brand label and embedding a logo into the design.

Step 3:Vacuating
After the base is molded and cast, it is placed in a vacuuming chamber to set as this process helps to strengthen the bond between the two materials.
Step 4:Finalizing the Sculpture
When finalizing the sculpture, you have to edit any last changes by trimming and grinding to be sure of even surfaces. Now, you are ready to paint the snow globe with your own customization.
Step 5:Painting the Snow Globe
The first step of the painting process is to spray the entire globe with a white primer. This allows for even coverage and makes the colors stand out more. Once the primer has dried, the next step is to start painting. We use a variety of different techniques to add color to the snow globes. Some of the most popular methods are airbrushing, hand painting, and decal application. After the paint has been applied, we apply a clear coating to protect the design. This also adds a bit of shine to the finished product.
Step 6:Waterproofing
Once the paint is dry, the snow globe is then sprayed with waterproof oil to protect it from wear and tear. Finally, the snow globe is set aside to dry. Once it is fully dry, the bottom base is smoothed out again to ensure that it is even.
Step 7: Assembly
When assembling the snow globe, a plastic gasket is attached to the bottom of the sculpture. This will create a seal that will prevent any liquid from leaking out. The sculpture is then cleaned and placed in the vacuating chamber for the final time. This step removes all the air from inside the snow globe, ensuring that it will be watertight.
Step 8: Filling:
When the assembly is done, a liquid is filled inside.The thickness of the liquid varies depending on the climate of the country you are shipping to.
For instance, in Russia, temperatures can drop below 0. In this case, it would be requested that the snow globes remain liquid at a temperature of no less than -10 to avoid freezing or breakage.
Last but not least, these custom snow globes are wrapped in Styrofoam to protect them from any malfunction during the shipping process.
Some Minor Inconveniences
One of the most recurrent issues is that the water inside the globe can turn yellow after a period of time. This can happen due to a variety of reasons, including:
- The quality of varnish used on the figurine inside the globe can cause it to fade and lose its physicality over time.
- The quality of the antifreeze used in the globe can cause the water to turn yellow after a while.
- If the snow globe is left in direct sunlight for extended periods of time.
In order to overcome this obstacle, manufacturers must employ a rigorous quality control process to ensure that all products meet the required standards.
Advertising Tips for your Customized Snow Globe
A customized snow globe can be a great way to promote your business or organization. They make perfect POS displays on your shelf or office. This product can also be used as giveaways or gifts with purchase. You can also add a personal touch including a handwritten note or special message to increase brand loyalty.

But how do you make sure your snow globe stands out from the rest?
Here are a few tips:
1. Use bright, eye-catching colors.
2. Make sure your logo is clearly visible.
3. Use attractive packaging to make your snow globe even more appealing.
4.Give your snow globe its own unique identity. Make it memorable and different from the rest.
Get in touch with us!
At UCT Asia, we’re dedicated to providing our clients with the best possible services. We also have other promotional gifts and ideas for your branded merchandise items.
Our team of experienced product designers can help you come up with some amazing ideas for promotional merchandise that will wow your audience and improve brand recognition. So, Contact us today to design your own custom-made snow globe!

